Tools
The editing tools sit along the top of the editor, from left to right. Click one to use it. Its settings appear in the left panel.
Each tool works on the layer selected in the Layers tab, so pick the layer first.
The tools that change pixels (everything except Palette and Transform) cannot be used on animated layers.
Palette
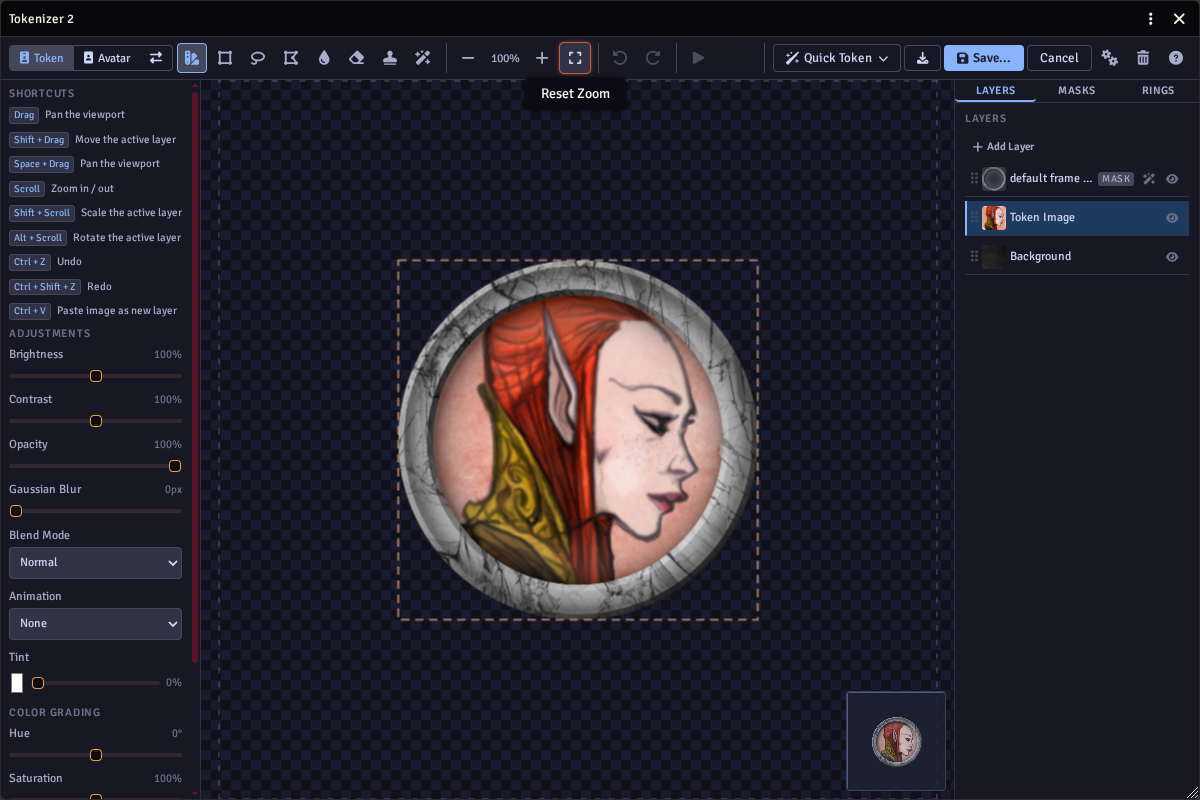
Palette is the tool the editor starts on. It is for moving the view and changing how the selected layer looks:
- Brightness, Contrast and Opacity.
- Gaussian Blur - soften the whole layer.
- Blend Mode - how the layer mixes with the layers below: Normal, Multiply, Screen, Overlay or Soft Light.
- Animation - make the layer rotate, breathe, pulse, shimmer, cycle its colours, or pulse an aura. Each has a speed and strength. A token with anything animated saves as a looping video.
- Tint - wash the layer with a colour.
- Colour Grading - hue, saturation, greyscale and temperature (cool to warm).
While Palette is active, Shift + drag moves the layer, Shift + scroll scales it and Alt + scroll rotates it.
Transform
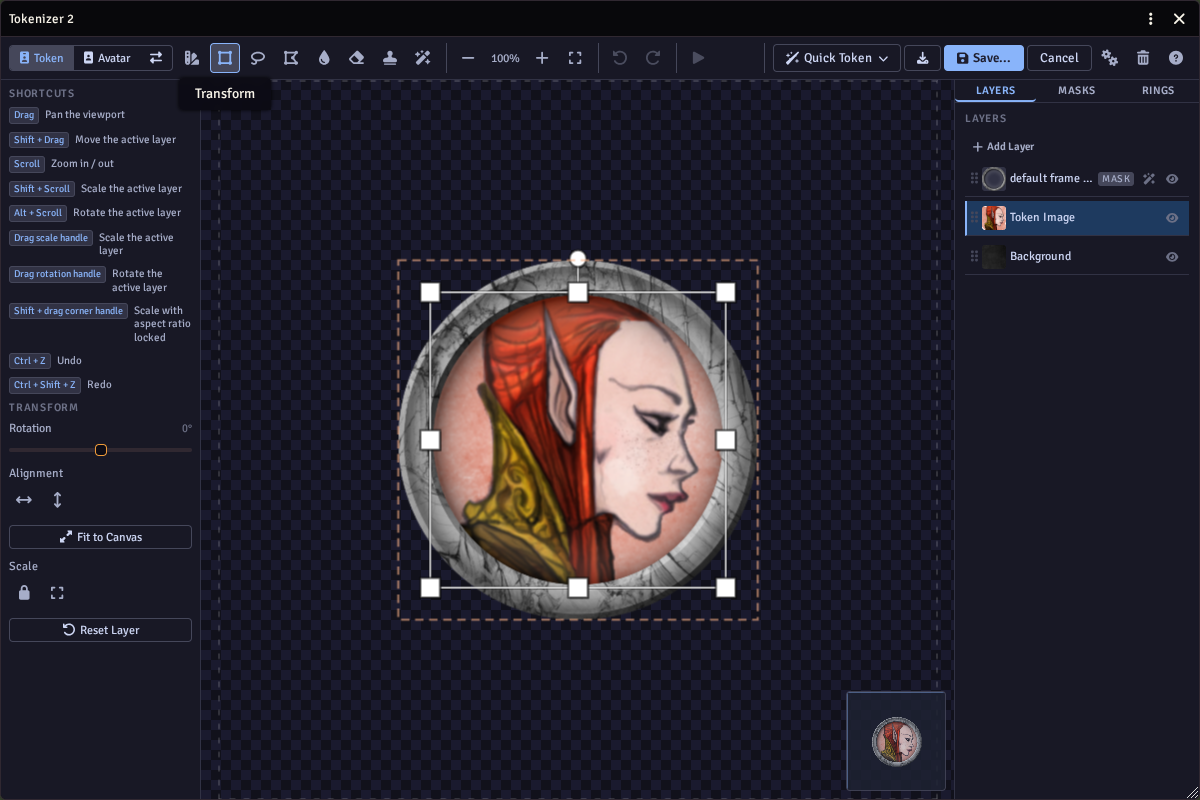
Transform puts handles around the selected layer:
- Drag a side or corner handle to resize it. Hold Shift on a corner to keep its shape.
- Drag the round handle at the top to rotate it.
The left panel has a Rotation slider, buttons to centre the layer, Fit to Canvas, a lock to keep the width and height in step, and Reset Layer to undo all of it. In Avatar mode it also sets the canvas shape: square, portrait or a custom size.
Magic Lasso
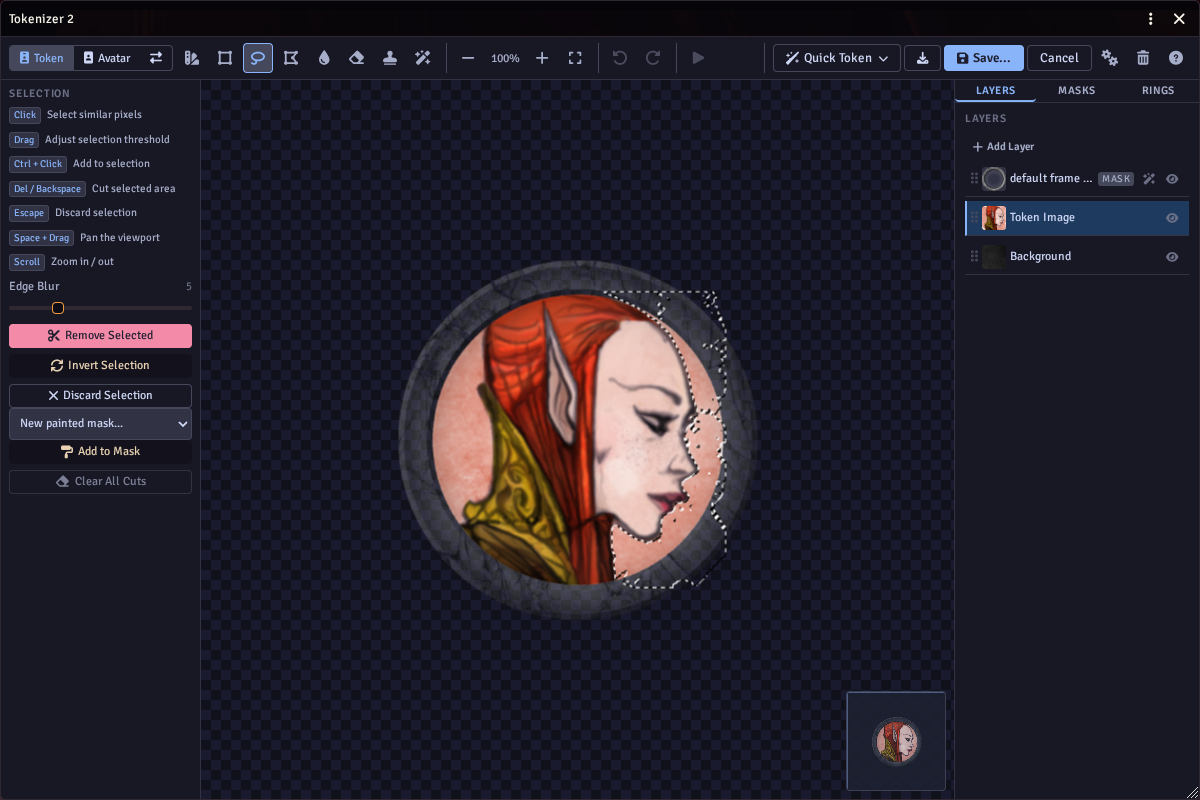
The Magic Lasso selects areas of a similar colour, like a plain background.
- Click the area you want.
- To take in more (or less) of the nearby colours, click and drag instead: drag further to widen the selection.
- Ctrl + click adds another area to the selection.
Then choose what to do with it:
- Remove Selected (or Del) cuts it out of the layer.
- Invert Selection swaps it, so you can keep the area and cut everything else.
- Discard Selection (or Escape) lets it go.
- Add to Mask turns it into a painted mask instead of cutting, so you can fine-tune it with the brush later.
Edge Blur softens the edge of the cut. Cuts are not permanent: Clear All Cuts brings back everything you removed from the layer.
Freehand Remove
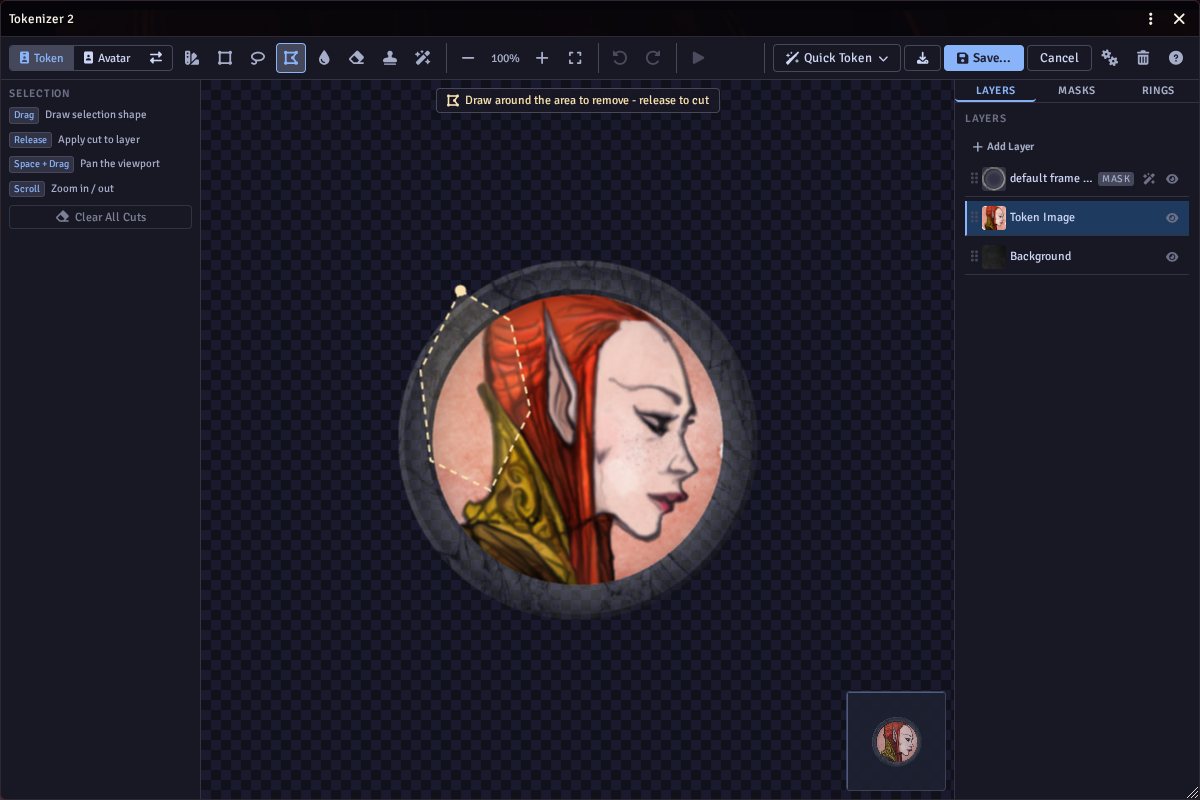
Draw around an area to cut it out. The cut happens when you let go of the mouse.
Like the Magic Lasso, Clear All Cuts brings back everything you removed.
Liquify / Warp
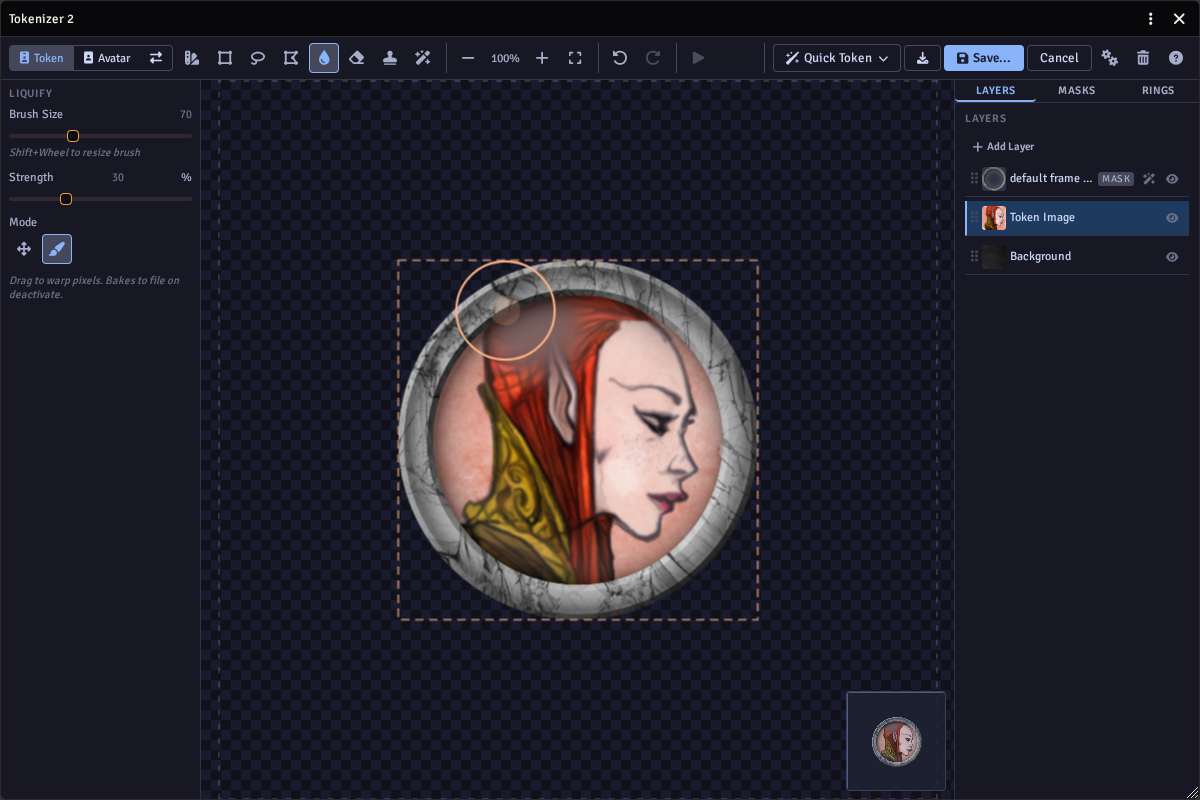
Liquify pushes the pixels of the layer around like wet paint. Drag on the layer to use it.
- Forward Warp pulls pixels along with the brush, for example to lift a jaw or bend a horn.
- Blend / Smudge smears them, to soften seams.
Set the Brush Size (or use Shift + scroll) and the Strength. The changes are saved into the layer when you switch to another tool.
Erase / Restore
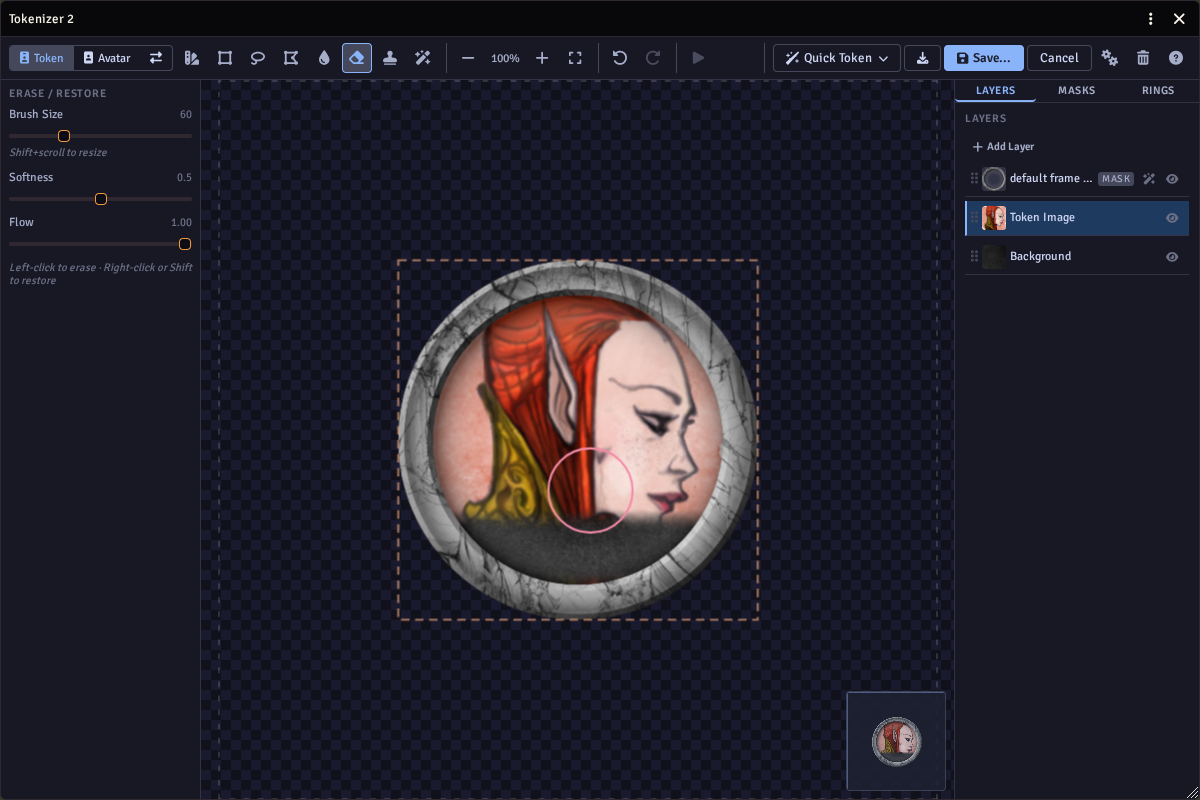
Paint with the left mouse button to erase parts of the layer. Paint with the right mouse button, or hold Shift, to bring them back.
- Brush Size - how big the brush is (Shift + scroll also changes it).
- Softness - how soft the edge of the brush is.
- Flow - how much each stroke erases; lower values build up slowly.
Nothing is lost when you erase, so you can always paint it back later.
Clone / Heal
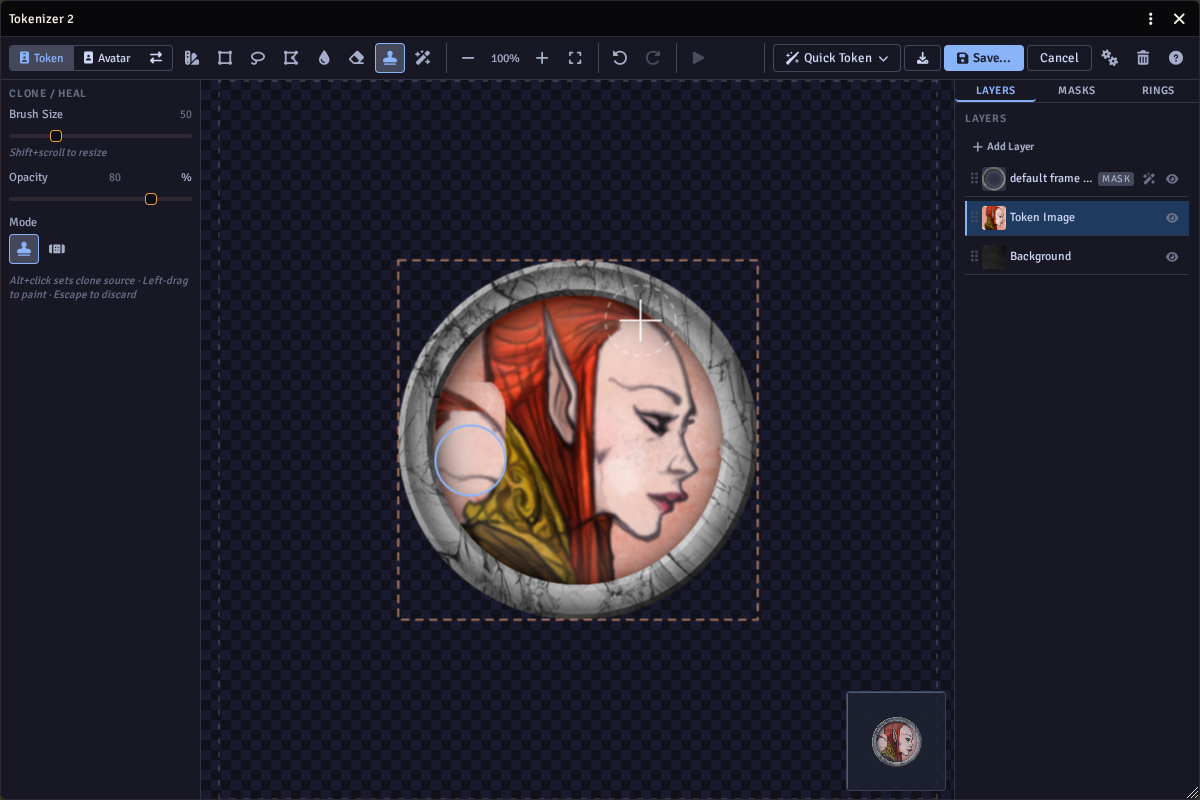
Clone / Heal copies one part of the image over another, to cover marks, text or a stray watermark.
- Alt + click where you want to copy from.
- Paint where you want to copy to.
Clone copies the pixels exactly. Heal blends them into their new spot, which hides the join better. Opacity sets how strongly each stroke paints. Press Escape to throw away the strokes you have just made.
Layer Effects
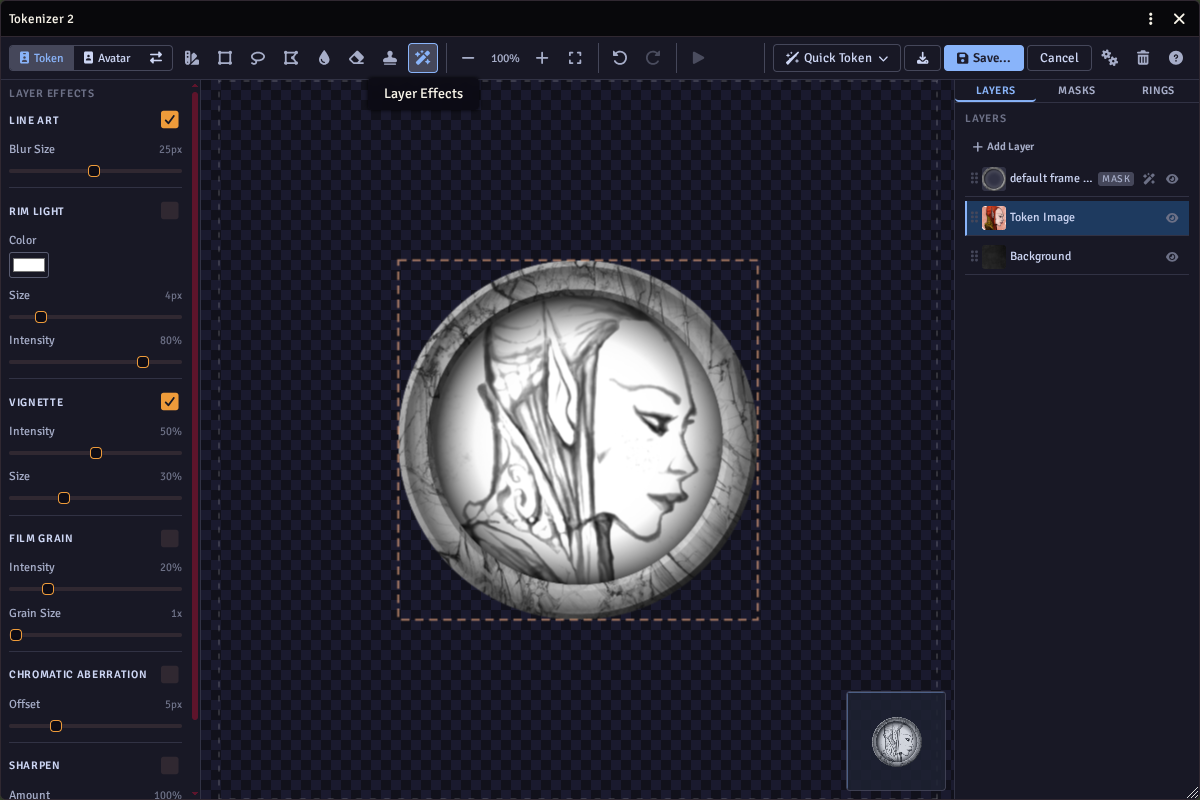
Layer Effects adds finishing touches to the selected layer. Tick an effect to turn it on, then adjust it:
- Line Art - turns the layer into a pencil drawing.
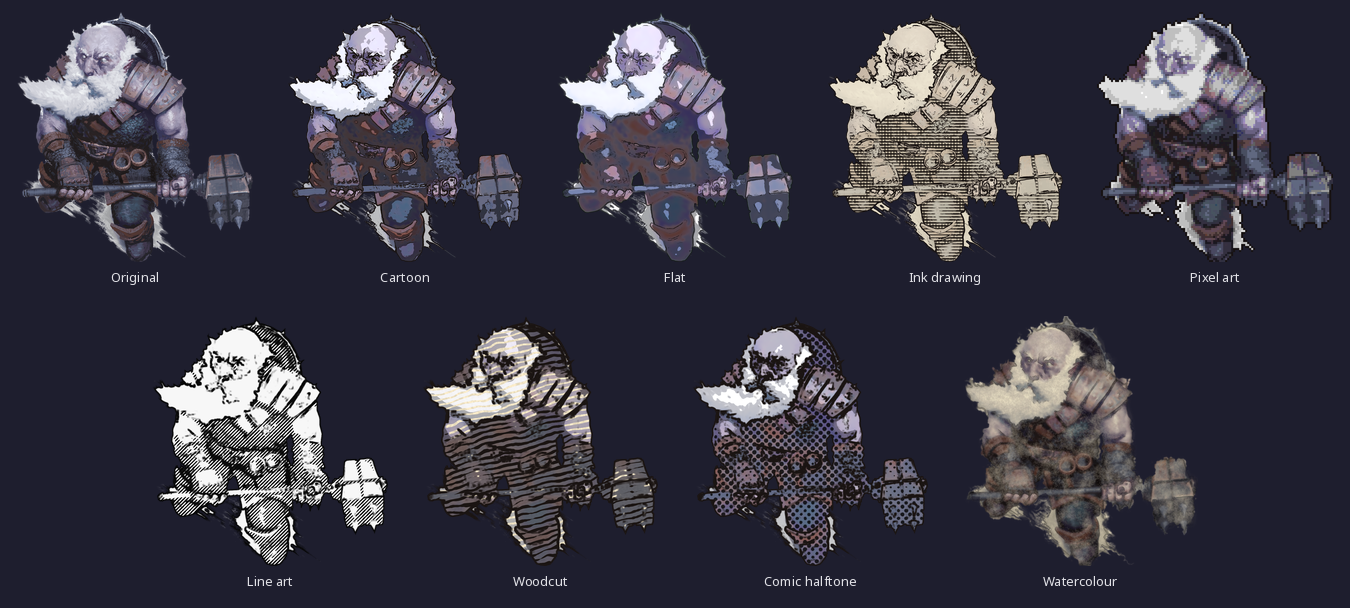
- Ring Style - draws the layer in one of the Ring Generator's styles, so your art matches your rings: cartoon, flat, ink drawing, pixel art, line art, woodcut, comic halftone or watercolour. It starts on the style your world's rings use. Most styles have the same settings as in the Ring Generator (ink and paper colours, hatch, stroke or dot spacing, pixel size, watercolour edge bleed); a layer follows the world's settings until you change one, and Reset style settings goes back to them.
- Rim Light - a glowing edge around the subject, in any colour.
- Vignette - darkens the edges.
- Film Grain - adds noise for a gritty look.
- Chromatic Aberration - splits the colours slightly at the edges.
- Sharpen - crisps up soft or blurry art.
Paint Mask
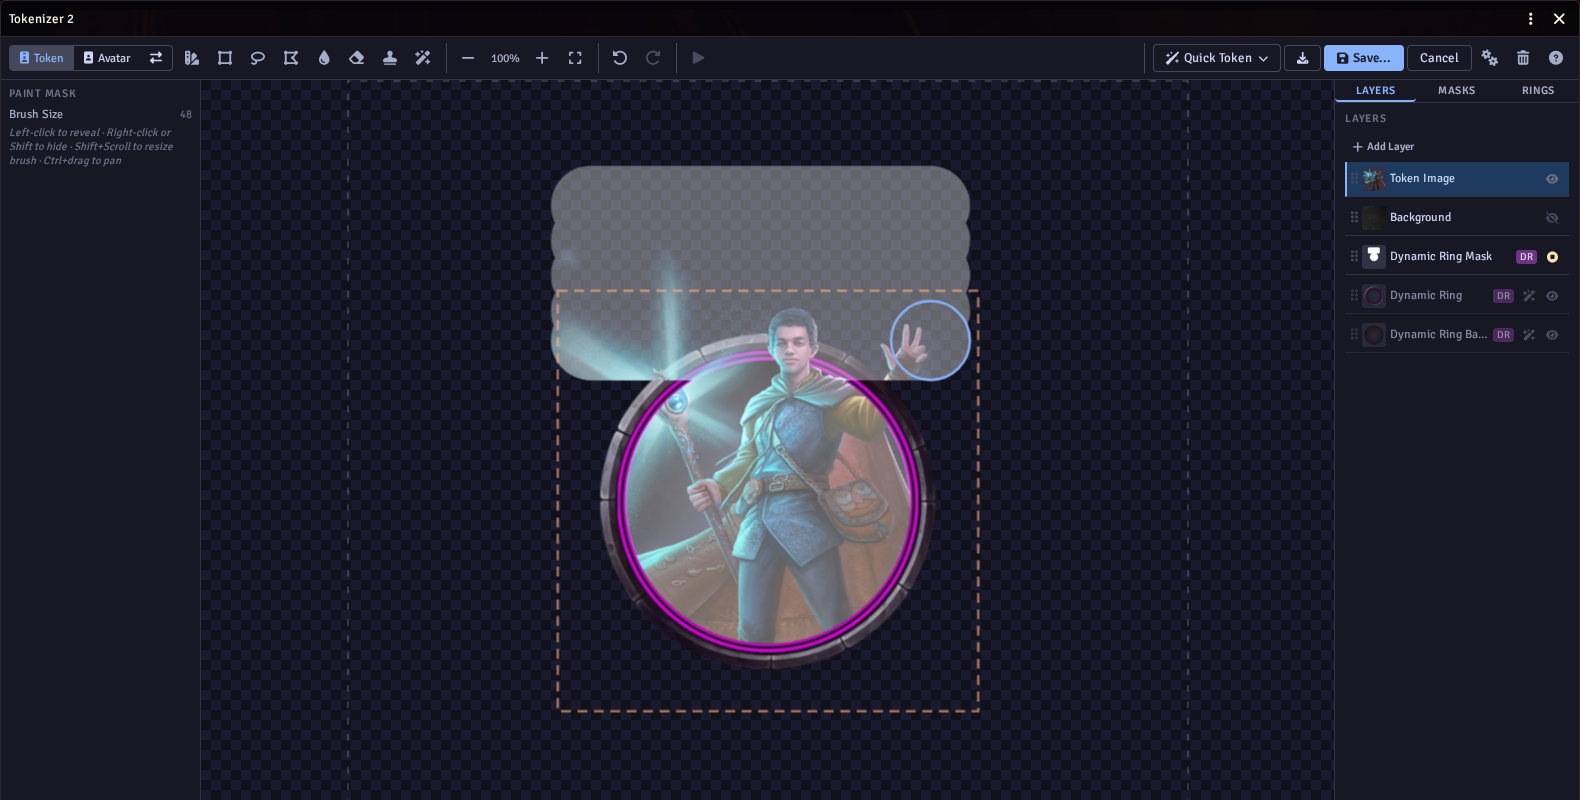
Paint Mask is not on the toolbar. It starts when you click the pencil on a layer in the Layers tab (Edit Mask, or Create Painted Mask if the layer has none), or add a Painted Mask layer.
- Paint with the left mouse button to show more of the layer.
- Paint with the right mouse button, or hold Shift, to hide it.
- Shift + scroll changes the brush size.
Click the pencil again to stop editing. Right-click a painted mask layer and choose Save Mask to reuse it on other tokens. Pop-out Tokens shows it in use.