Pop-out Tokens
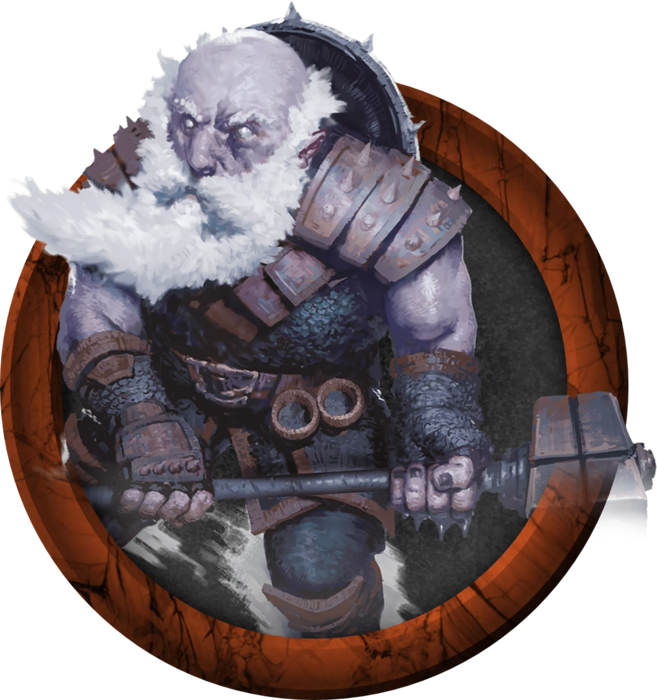
A pop-out token looks as if the character is climbing out of their frame. Their head, shoulders or weapon sit in front of the ring, while the rest of them stays inside it.
There are a few ways to make one. Pick the one that suits your art and how you give your tokens a ring:
| Method | Best for |
|---|---|
| 1. Paint the existing mask | The quickest. Art with a transparent background, on Foundry's Dynamic Ring |
| 2. A cut-out with its own mask | Art with a background, when you also have a cut-out of the character |
| 3. A copy in front of the frame | Frames drawn into the token image, so the character sits in front of the frame's band |
Whichever you choose, open the Rings tab and click one of the Enable Oversized options first. This gives the character room to spill past the ring; the larger dashed square shows how far.
1. Paint the existing mask
With the Dynamic Ring, Foundry draws the ring, and Tokenizer 2 clips the character to it with a mask called Dynamic Ring Mask. To pop out, you paint that mask so more of the character shows.
This works best when the art has a transparent background, so only the character pops out. If your art has a background, cut it away first with the Magic Lasso or Erase, or use method 2.
Turn on the Dynamic Ring
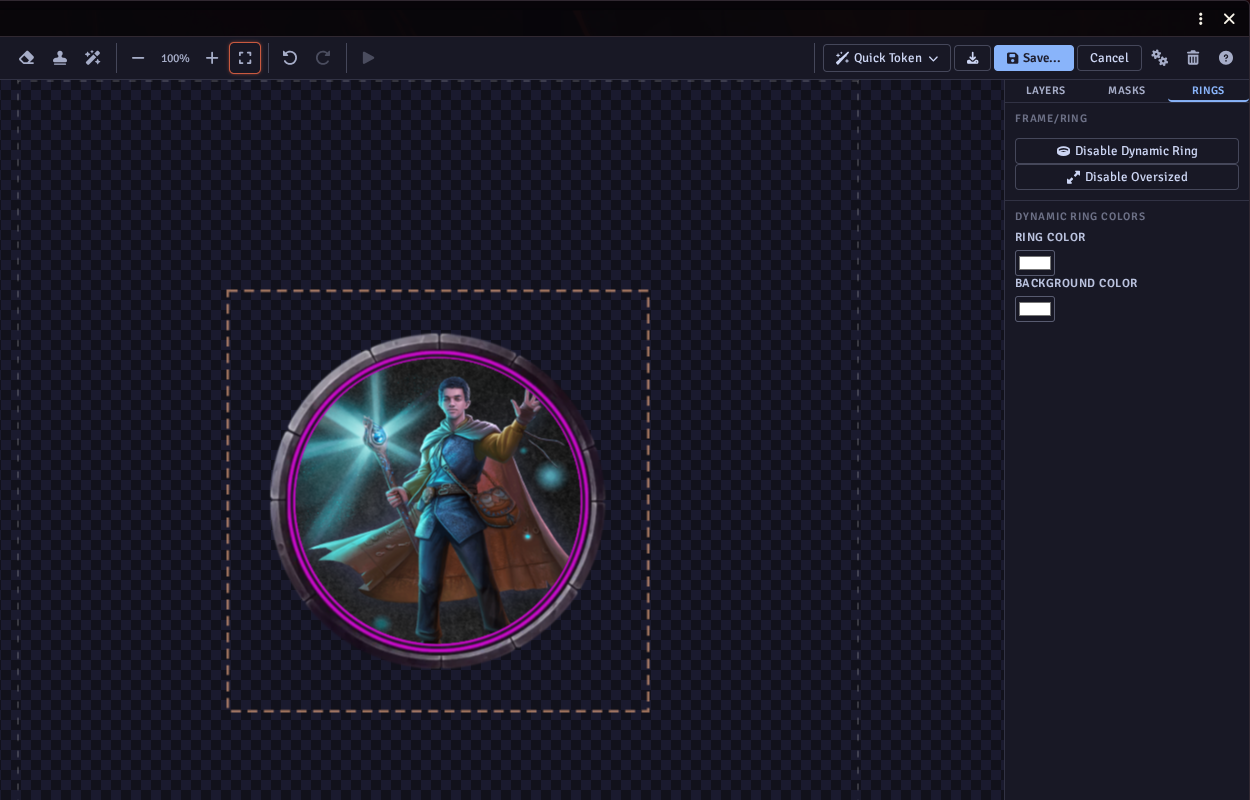
In the Rings tab, click Enable Dynamic Ring. The layers now include Dynamic Ring Mask, which clips the character to the inside of the ring.
If there is a Background layer, hide or delete it, so it does not pop out as well. The Dynamic Ring has its own background colour.
Size the character
Select Token Image and make it bigger with Shift + scroll, moving it with Shift + drag, until the parts you want to pop out cross the edge of the ring.
Paint the mask
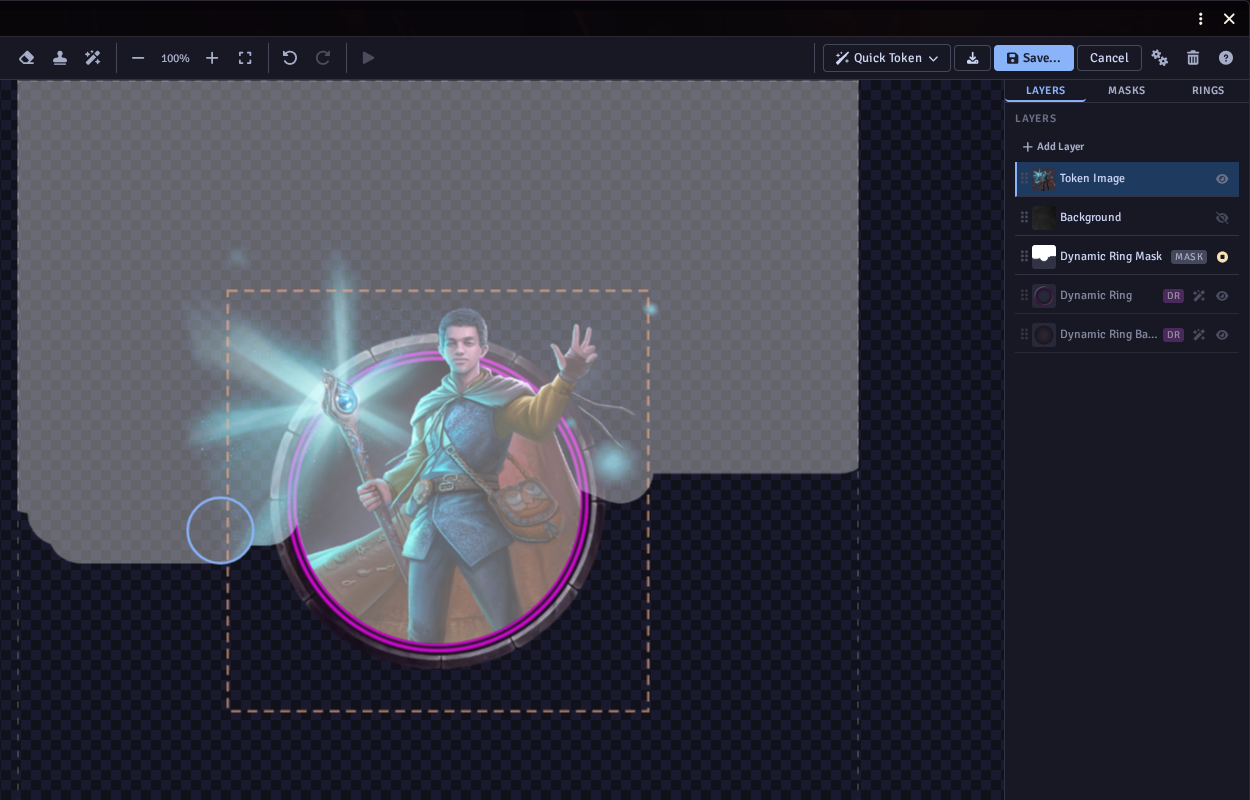
Click the pencil on Dynamic Ring Mask to start Paint Mask. While you paint, the editor shows the painted area and fades the hidden parts.
Paint with the left mouse button over the parts that should pop out, past the edge of the ring. Paint with the right mouse button to hide them again. Shift + scroll changes the brush size.
Be generous: paint well past the edges of the parts you want, so the edge of your painting never cuts through them. Glows and light effects look best revealed all the way out to where they fade.
Save
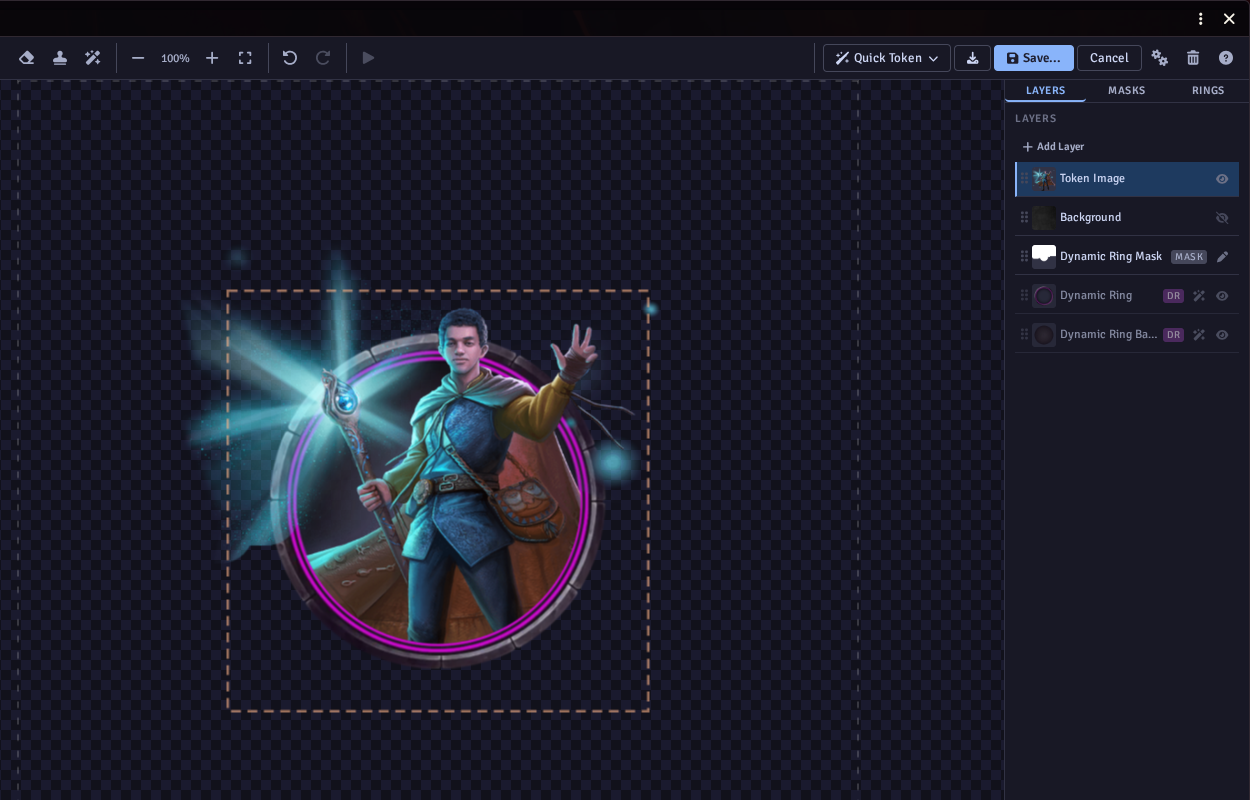
Click the pencil again to stop painting, check the result, and click Save....
If the character does not change as you paint, check the Masks tab. Their layer needs a Mask Image mask with Dynamic Ring Mask as its Mask Layer; add one with + if it is missing.
2. A cut-out with its own mask
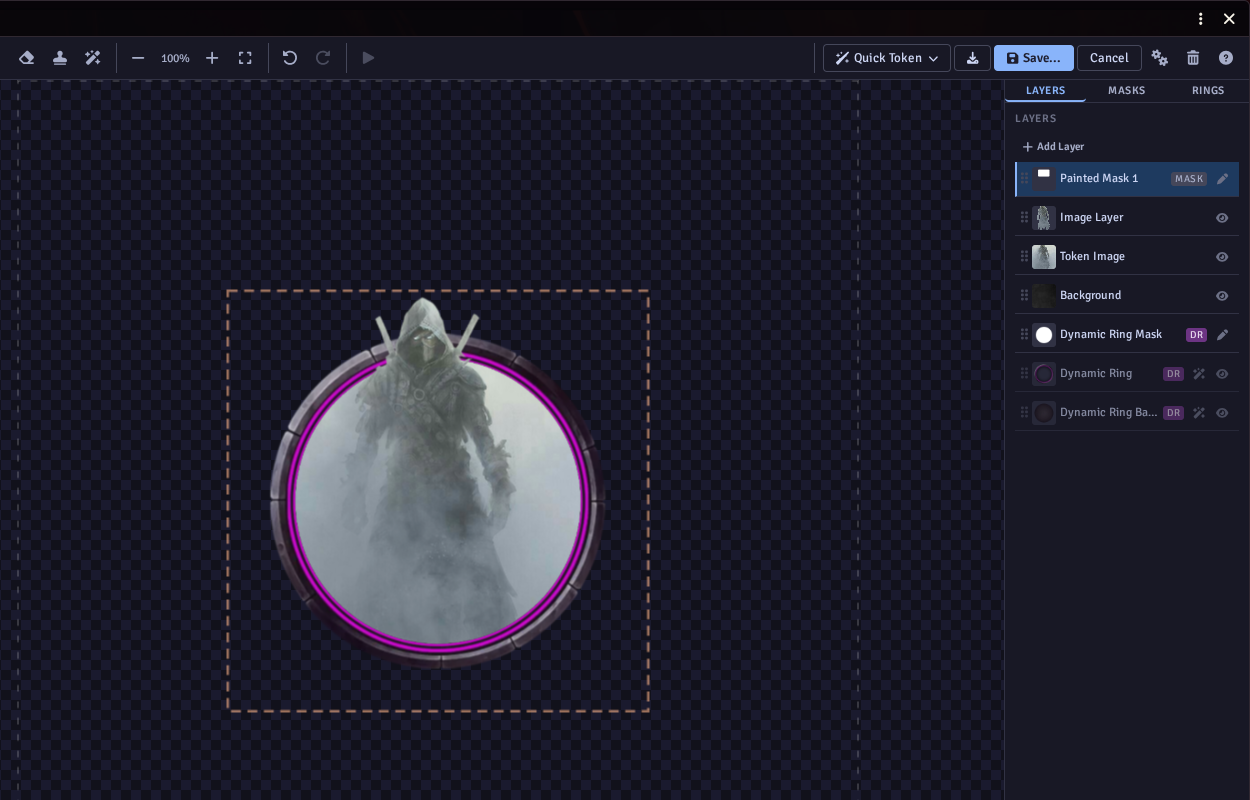
Painting the Dynamic Ring Mask also shows the background of the art, which spoils the effect when the art has one. This method uses two versions of the same art:
- the original, with its background, which stays inside the ring,
- and a cut-out of just the character, which gets a mask of its own so only it pops out.
Make the cut-out in an image editor, with the Magic Lasso or Erase, or with a background removal tool. It must be the same size as the original, so the two line up.
Add the cut-out
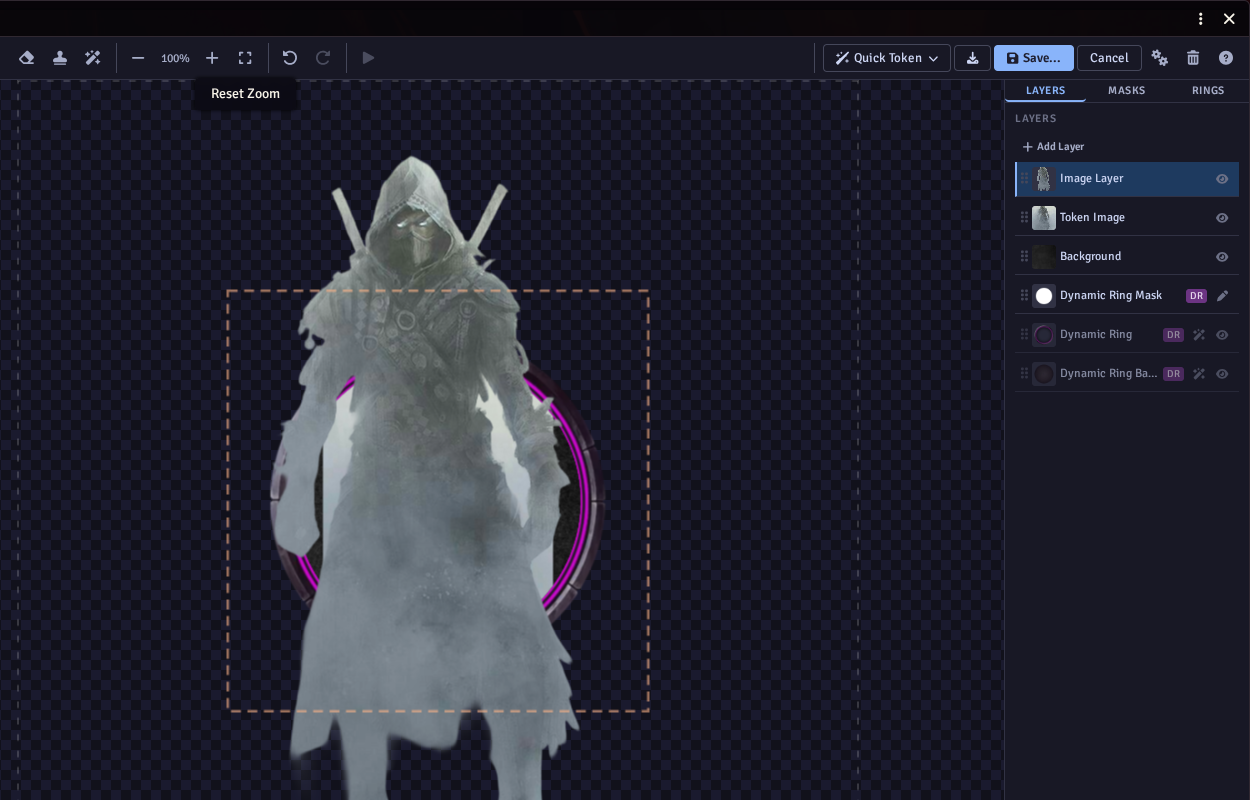
Open the editor on your actor, with the original as its portrait. In the Rings tab, click one of the Enable Oversized options and then Enable Dynamic Ring.
Click + Add Layer, choose Add Image Layer, and pick the cut-out. It arrives on top, at a different size from the original.
Line them up
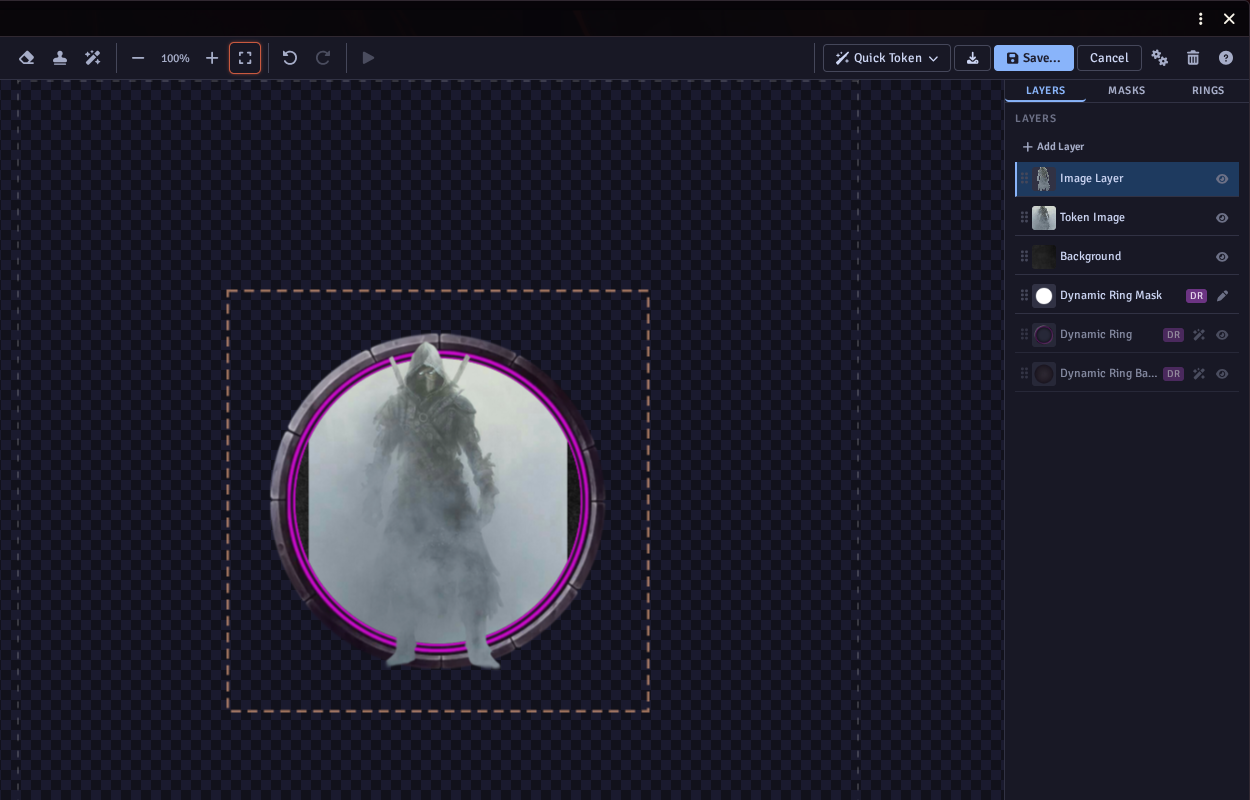
Pick the Transform tool. Select Token Image (the original) and click Fit to Canvas, then select the cut-out and click Fit to Canvas again. Because the two images are the same size, they now sit exactly on top of each other.
To make the character bigger, select each layer in turn and Shift + scroll the same number of steps, so they stay lined up. Stop when the parts you want to pop out cross the edge of the ring.
Paint the cut-out's mask
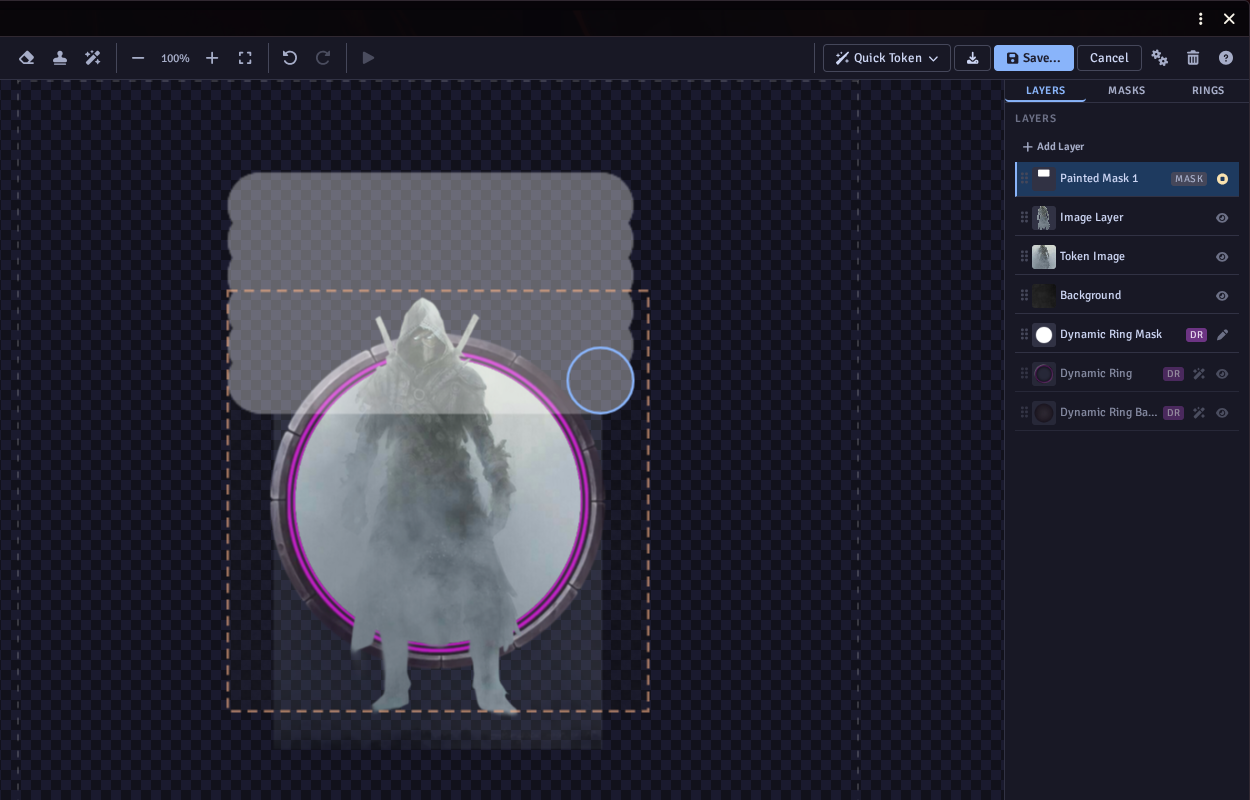
With the cut-out selected, click + Add Layer and choose Add Painted Mask. A new Painted Mask 1 appears and painting starts.
Paint over the parts that should pop out, such as the head, shoulders and weapons, and well past them. Click the pencil on Painted Mask 1 to stop painting.
Give the cut-out its masks
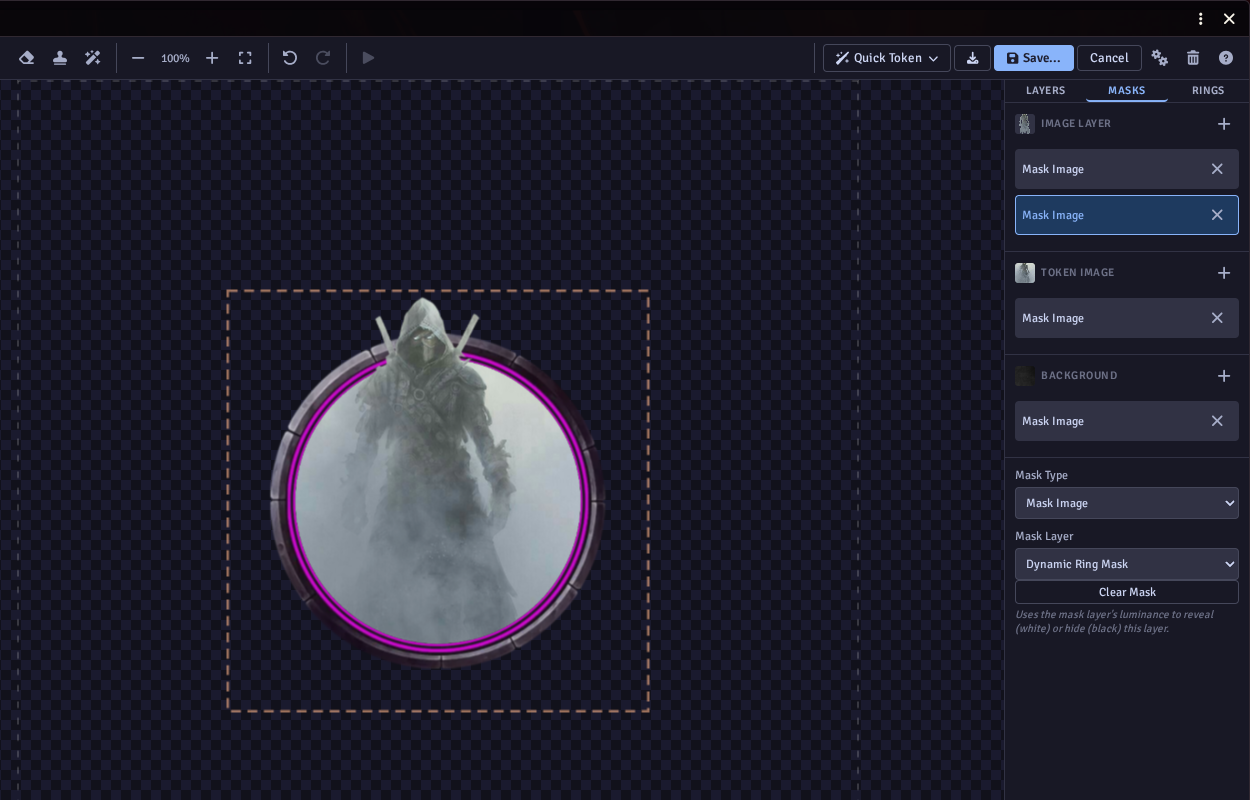
Open the Masks tab and find the cut-out's layer.
- Click + next to it, set Mask Type to Mask Image, and Mask Layer to Painted Mask 1. The cut-out now shows only where you painted.
- Click + again, set Mask Type to Mask Image, and Mask Layer to Dynamic Ring Mask.
Masks of the same type add together, so the cut-out shows inside the ring and wherever you painted. The original keeps just the Dynamic Ring Mask, so its background stays inside the ring.
Save
Click Save....
3. A copy in front of the frame
With a frame drawn into the token, the frame's band sits in front of the character. To pop out in front of the band, you need two copies of the character. One sits behind the frame, clipped to the inside of the ring, as usual. The other sits in front of the frame, and you erase the parts of it that should stay inside.
Start with the character in the ring
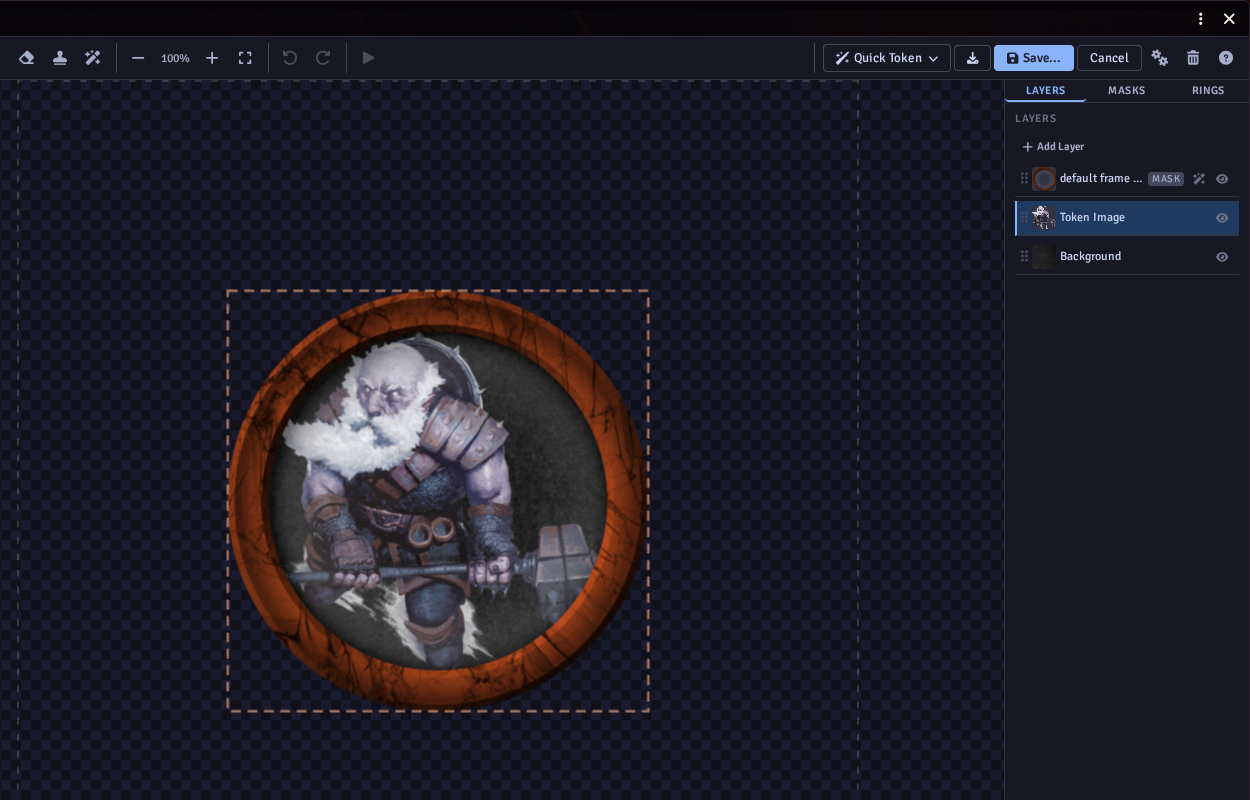
Open the editor on your actor. Tokenizer 2 starts you off with the portrait clipped inside a ring.
Select the portrait (Token Image) and make it bigger with Shift + scroll, and move it with Shift + drag, until the parts you want to pop out cross the edge of the ring. They will be hidden for now.
Put a copy in front of the frame
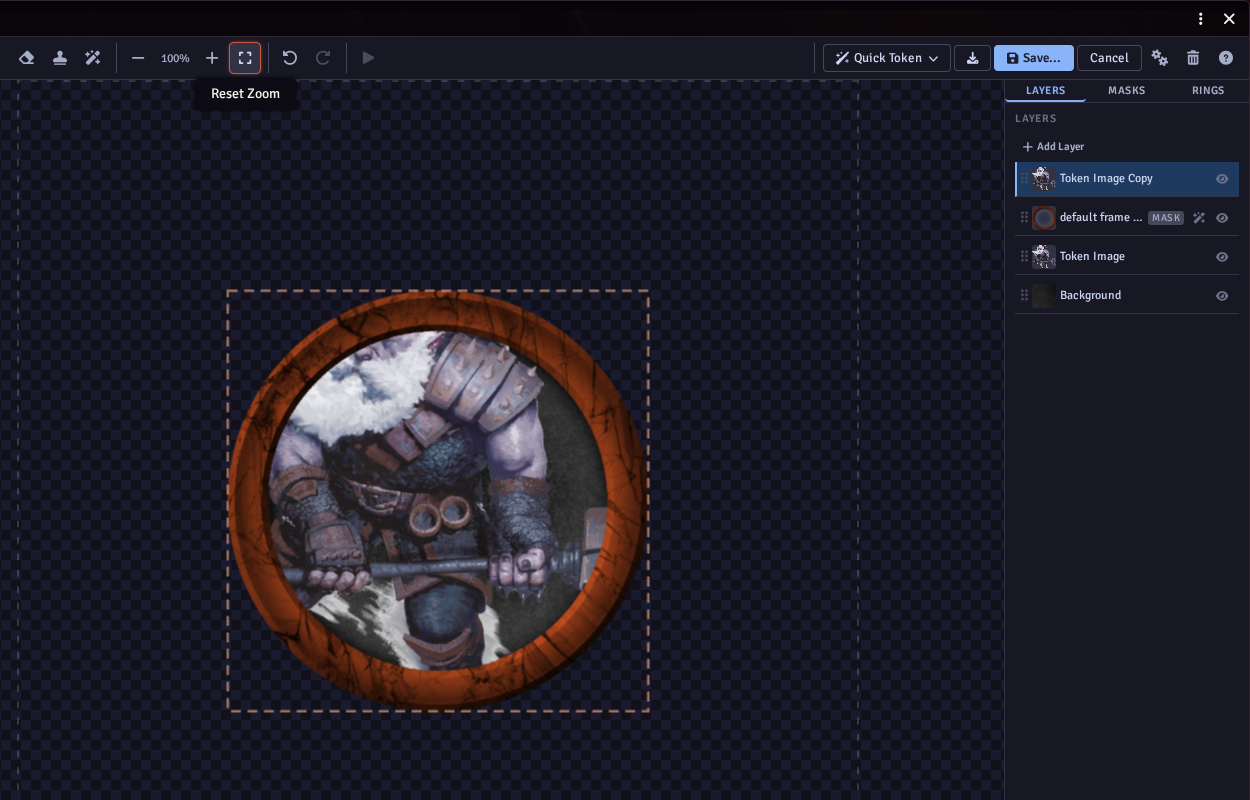
Right-click the portrait and choose Duplicate Layer. Drag the copy (Token Image Copy) above the frame in the Layers tab.
Take the mask off the copy
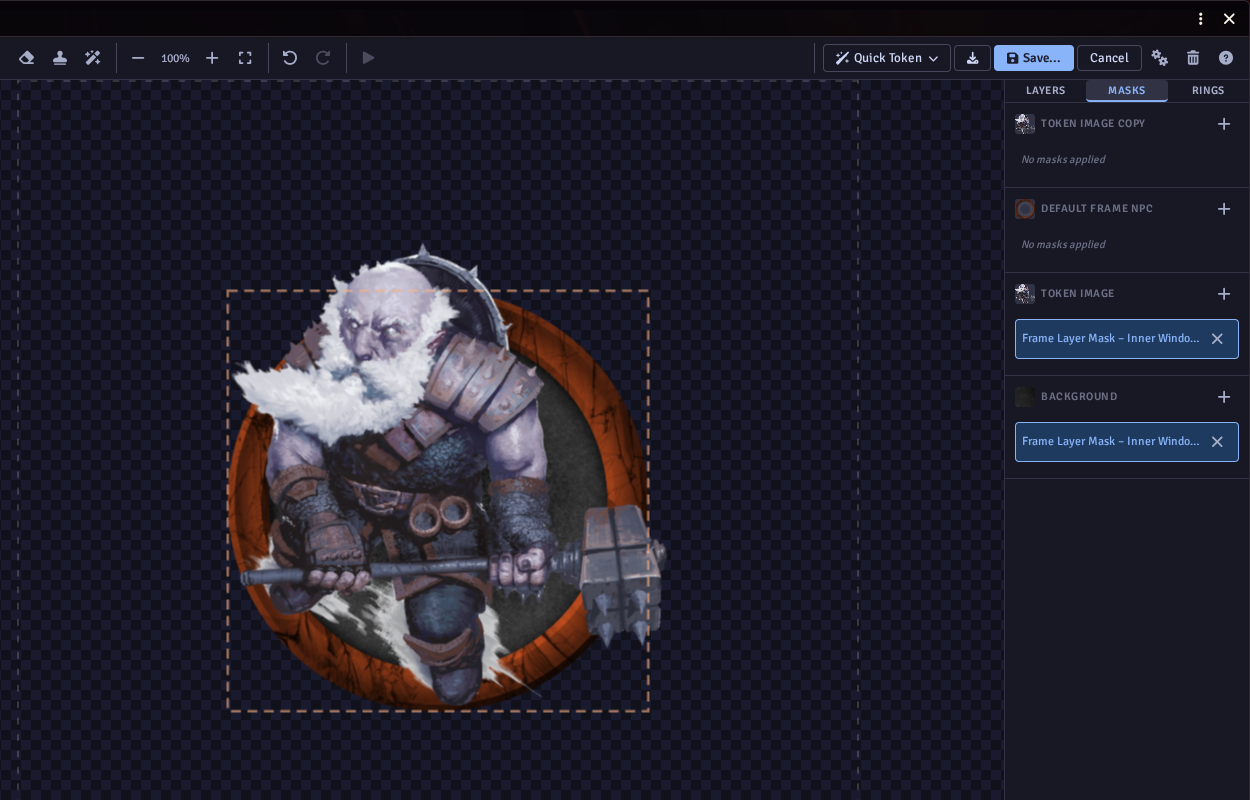
The copy is still clipped to the inside of the ring. Open the Masks tab, find Token Image Copy, and click the x on its mask to remove it.
Now the whole character sits in front of the frame.
Erase what should stay inside
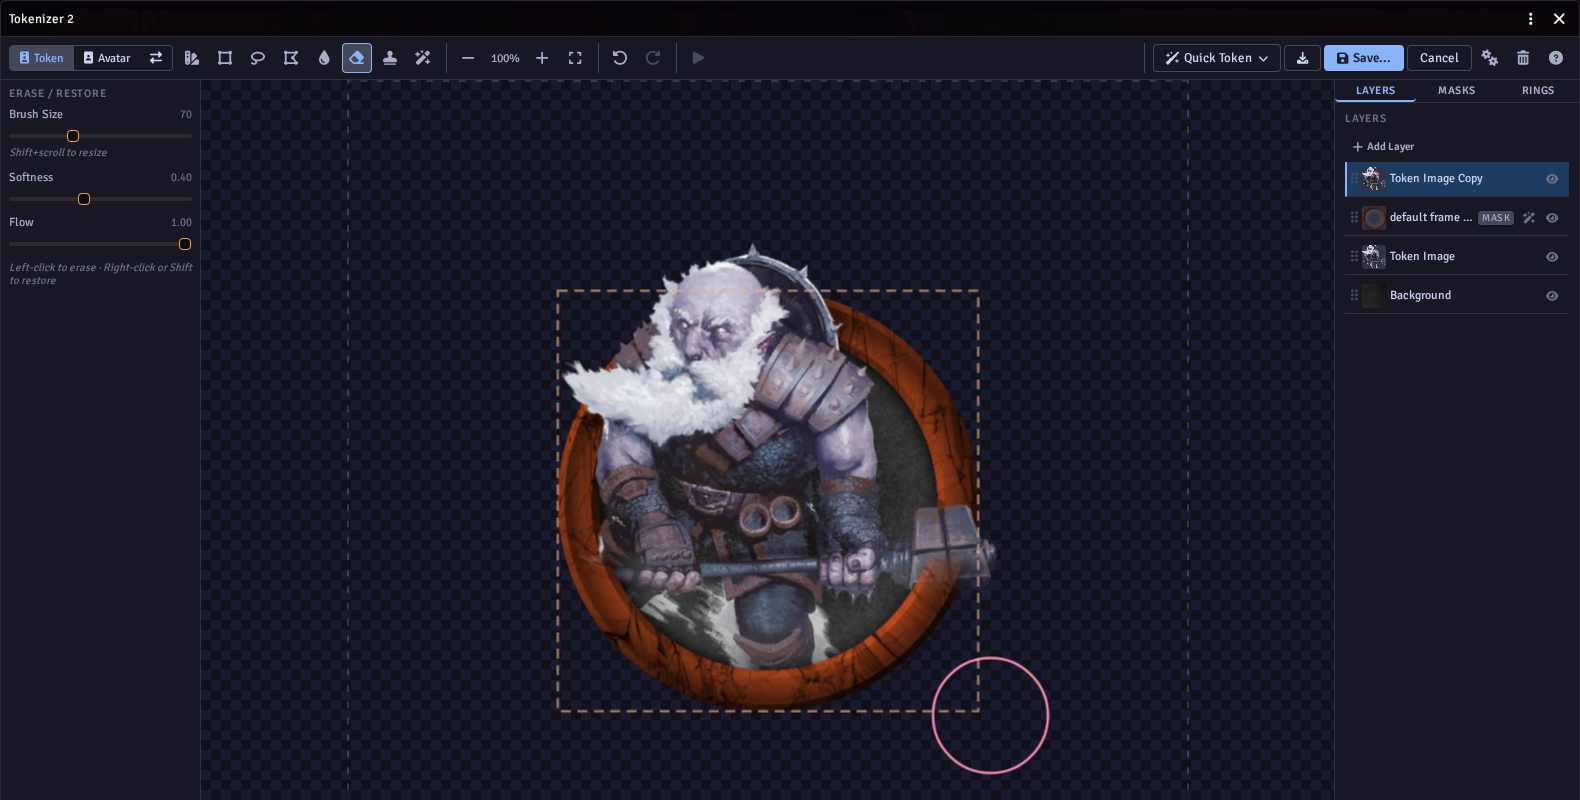
Pick the Erase tool, with the copy still selected. Paint over the parts of the copy that should be behind the ring, such as the legs. As you erase, the frame and the clipped portrait underneath show through.
Keep the parts you want to pop out: here the head, beard and hammer. A soft brush makes the join look natural. If you erase too much, paint it back with the right mouse button.
If your art has a background, use a cut-out for the copy instead, as in method 2. You can also give the copy a painted mask instead of erasing, so you can change it later.
Save
Click Save....
On the scene
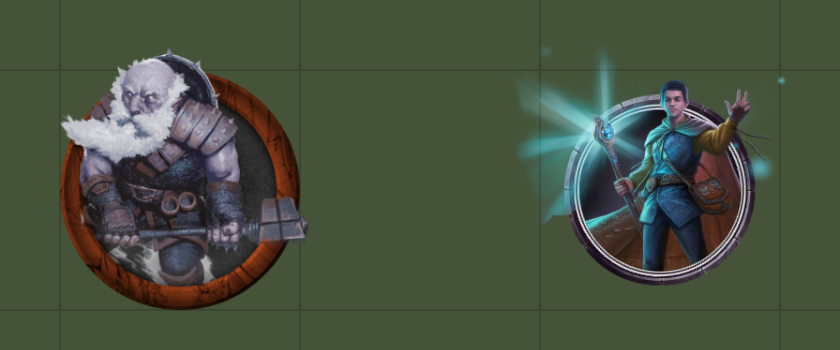
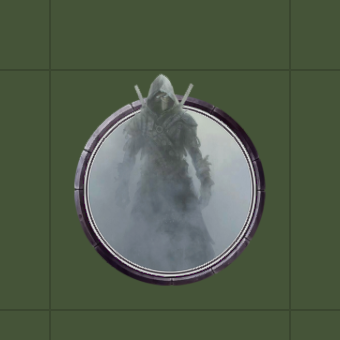
The frame version (left) and the Dynamic Ring version (right) on a scene.