Number Badges
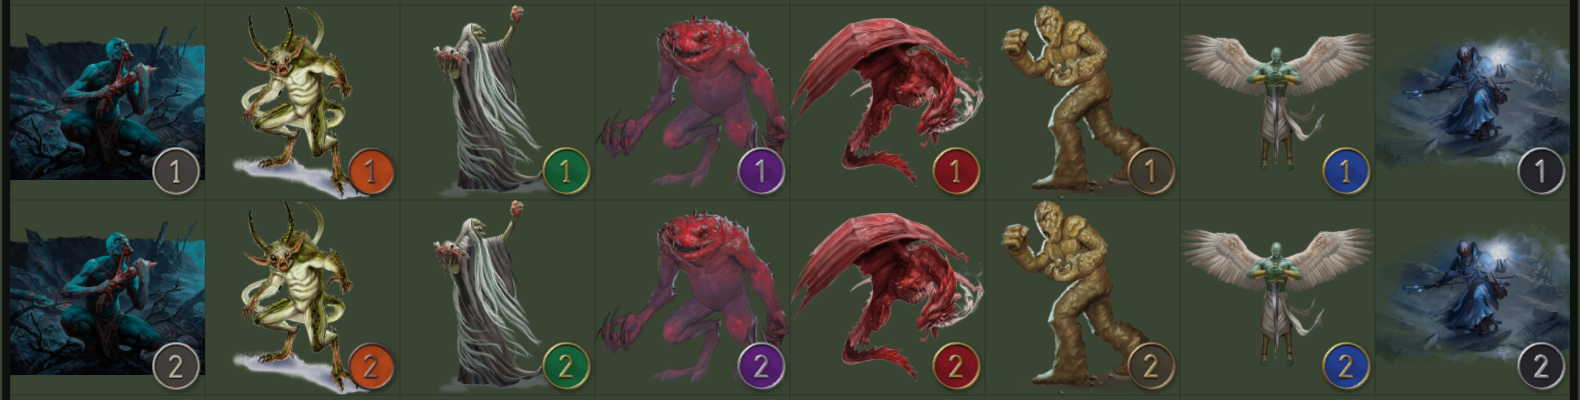
Six goblins on the map, and a player says "I attack the goblin". "Which one?"
- Every session ever
When two or more tokens of the same creature are on a scene, each gets a small numbered badge on its token: 1, 2, 3 and so on.
Badges come in many designs, and can even match the creature: bone for the undead, fire for fiends, a stencilled dog tag for soldiers, a glowing display for robots. You can make your own designs, and choose where badges sit on their tokens.
Turning them on
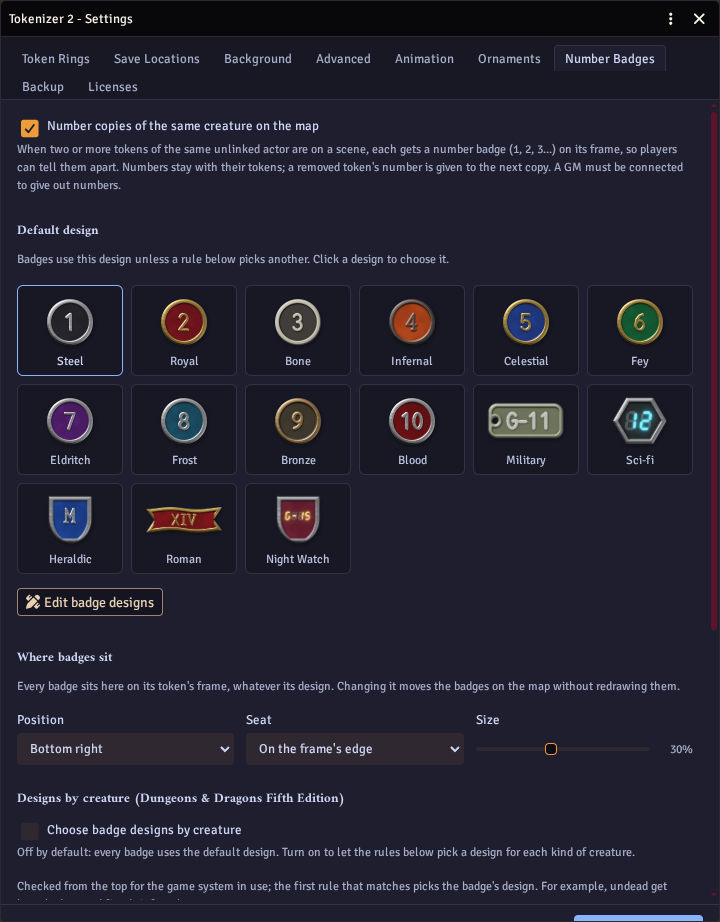
Open the Tokenizer 2 settings, go to the Number Badges tab, and tick Number copies of the same creature on the map.
From then on:
- Numbers are given out as copies appear, and stay with their tokens.
- If token 2 is removed, the next copy you add becomes the new 2.
- A pasted or duplicated token gets a number of its own rather than sharing one.
- Badges only apply to unlinked tokens, the usual setup for monsters.
- A GM must be connected for new numbers to be given out.
Badges are drawn by every player's Foundry, on top of the token, so they work with any token art: framed, Dynamic Ring, or none at all. They are not part of the token's image.
Designs
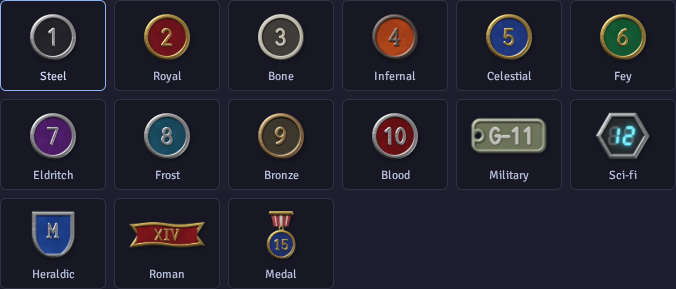
There are many built-in designs:
| Design | Look |
|---|---|
| Steel | Light steel on black, the classic badge |
| Royal | Gold on deep red |
| Bone | Bone on black |
| Infernal | Dark iron on fiery orange |
| Celestial | Gold on deep blue |
| Fey | Gold on emerald green |
| Eldritch | Silver on violet |
| Frost | Silver on icy teal |
| Bronze | Bronze on dark umber |
| Blood | Silver on crimson |
| Military | A stencilled olive dog tag with the creature's initial: G-01, G-02 |
| Sci-fi | A glowing seven-segment display in a steel hexagon: 01, 02 |
| Heraldic | A silver letter on a blue heater shield: A, B, C |
| Roman | Gold roman numerals on a red ribbon: I, II, III |
| Medal | A gold and blue medal hanging from a striped ribbon |
| Gothic | Gold blackletter numerals on a black iron shield |
| Plain label | Bold white numbers in a black outline, with no plate: for crowded maps |
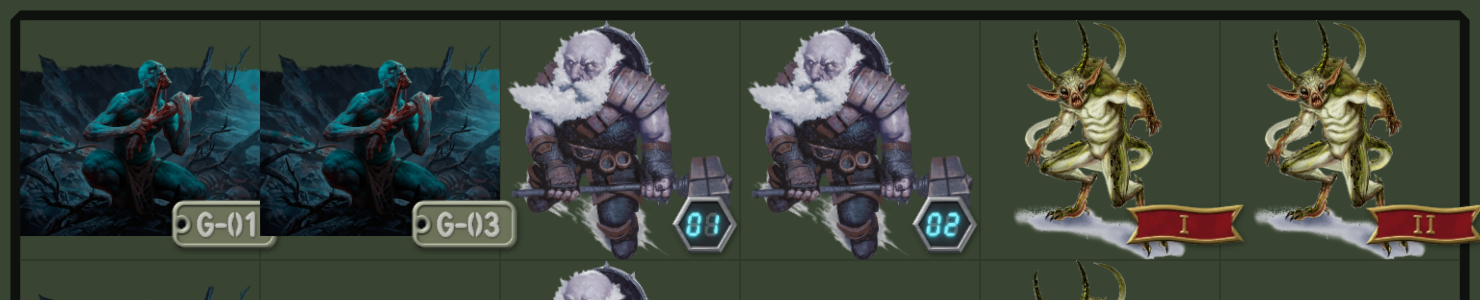
Badges are drawn in the same style as the Ring Generator, so a world set to cartoon or pixel art gets cartoon or pixel badges too. You choose the style on the Token Rings settings tab. Plain designs, such as Plain label, are the exception: they are always drawn in flat colours.
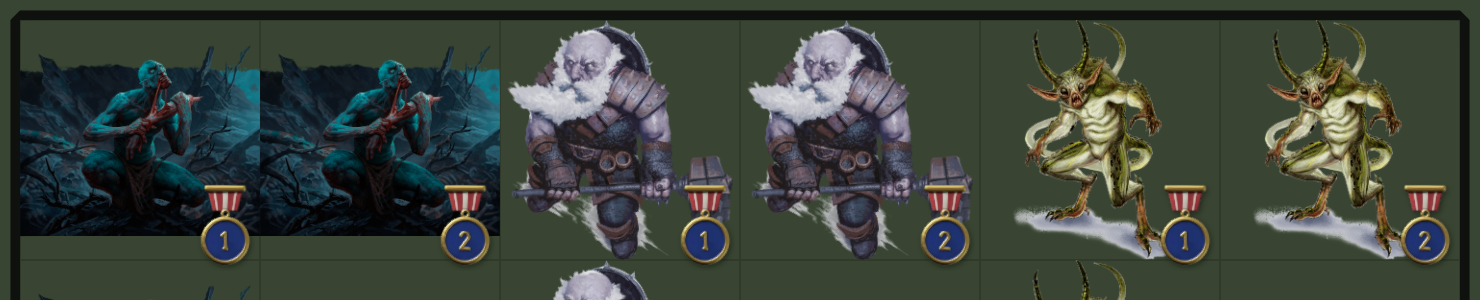
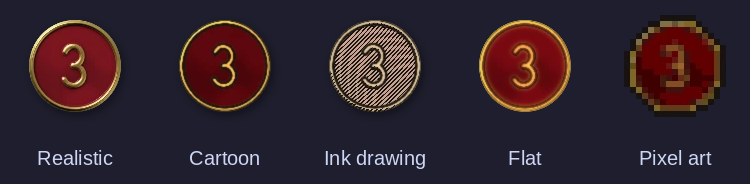
What a design can change
- Shape: a disc, hexagon, diamond, shield, dog tag, ribbon, medal (a disc hanging from a striped ribbon) or label (just the number in an outline, with no plate behind it). Badges always stay upright on the screen.
- Lettering: sans, serif, mono, stencil (with real stencil bridges), a seven-segment display or blackletter (written as with a broad pen, with angular gothic numerals).
- Number style: 1, 2, 3; padded (01, 02, 03); roman numerals (I, II, III); or letters (A, B, C, then AA, AB and so on).
- Prefix: none, your own text of up to three letters or digits, or the first letter of the creature's name. With a creature's initial, goblins read G1, G2 and orcs O1, O2 on the same map. A separator (a dash, a dot or a space) can go between the prefix and the number, as in A-03.
- Materials: the rim, the background and the label each have their own material and colour. The label uses the rim's material unless you give it one of its own. A medal's ribbon and its stripes have a material each too: red and cream unless you change them. A label's outline is in the rim's material, and its number in the label's.
- Plain colours: the badge is drawn in the flat colour of each material, with no lighting, shading or ring style, so it stays sharp and easy to read.
- Glow: the label can glow in a colour of your choice (not on a plain design). A seven-segment display can also show its unlit bars, as a real one does.
- Widen to fit: a dog tag or ribbon can grow wider for a long label, rather than shrinking the label.
Short labels read best at token size. For three or four characters, such as A-03, a dog tag or ribbon works better than a disc. On a crowded map, the Plain label design (or any design with the label shape and plain colours) covers the least of the token and reads against any art.
Making your own designs
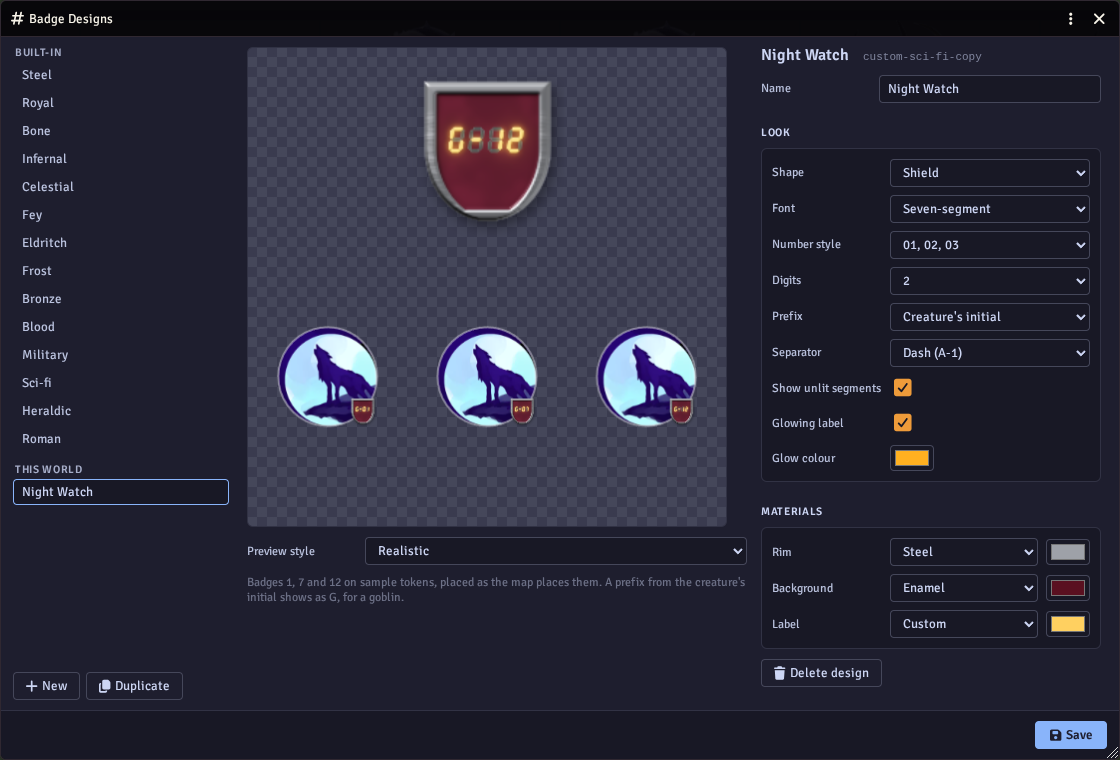
Click Edit badge designs on the Number Badges tab to open the Badge Designs editor. In the token editor, a GM can also click Badge Designs under Ring Tools on the Rings tab. The list on the left has the built-in designs and your world's own. The preview shows badges 1, 7 and 12, close up and on sample tokens, placed as they will be on the map.
The built-in designs cannot be changed. Select one and click Duplicate to make your own copy, or click New to start from Steel. Change its name, look and materials on the right, then click Save.
Your designs appear in the gallery and in the rules, alongside the built-in ones. If you delete a design that is still in use, those badges go back to the default design.
The default design
Click a design under Default design to choose the one badges use when no rule picks another. Steel is the default to begin with.
Designs by creature
To give different creatures different badges, tick Choose badge designs by creature. It is off to begin with, so every badge uses the default design until you turn it on.
The rules under Designs by creature then pick a design from what the creature is. They are checked from the top, and the first rule that matches wins. A creature that matches none gets the default design.
Each rule reads like a sentence: Creature type is Undead → Bone.
Tokenizer 2 comes with rules for these systems:
| System | Rules use | Built-in rules |
|---|---|---|
| D&D 5e | The creature type | Undead → Bone, Fiend → Infernal, Celestial → Celestial, Fey → Fey, Dragon → Royal, Aberration → Eldritch, Construct → Bronze |
| Pathfinder 2e | The creature's traits | The same, by trait: a creature with the undead trait gets Bone, and so on |
| Starfinder 2e | The creature's traits | The same as Pathfinder 2e |
Rules can test other things too, the same ones ornament rules use: challenge rating or level, disposition, rarity, elite, and so on. For example, Challenge rating at least 10 → Royal gives every big threat a gold and red badge. Traits use has and does not have, because a creature has many of them.
Use Add rule to add one, the arrows to change the order, and the bin to remove one. Reset to defaults puts back the built-in rules. Other game systems have no built-in rules, but you can still add rules there that use disposition, actor type, whether a creature is a player character, or any field of the actor through Actor data.
Changing designs later
When you save the settings or your designs, the badges already on the current scene are redrawn in their new look. Their numbers stay the same. Other scenes catch up the next time a GM opens them.
Where badges sit
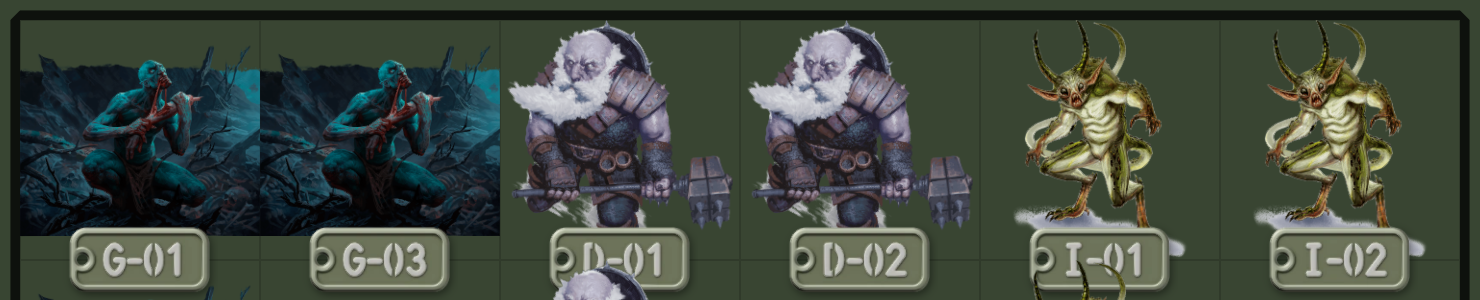
Under Where badges sit on the Number Badges tab you choose where every badge goes on its token, whatever its design:
- Position: top, top right, right, bottom right, bottom, bottom left, left or top left. Bottom right is the default.
- Seat: on the edge of the token's frame (the default), inside the frame, or just outside it.
- Size: how big a badge is, from 15% to 50% of the frame's width; 30% to begin with. Dog tags and ribbons are wider than this, as their shape is, and a label is as wide as its number. Badges never get smaller than a fifth of a grid square, so small tokens stay readable.
Changing these moves the badges on the map straight away, for everyone, without redrawing them.
Behind the scenes
Each badge image is made once, the first time a number (and prefix) is needed in a design and style, and saved in an ornaments folder inside your Generated Frames folder.
After that it shows at once.
Each saved image is just the small badge, so even a busy scene loads only a few tiny pictures.
Badges are light on the map load time once generated. The first time a new number and design is needed, its image takes a moment to make; badges appear as they are ready, and after that they show at once.
Settings backups include your badge designs, default design, rules and placement: see Settings. Module developers can add their own badge designs; see the API.